
Last updated November 15, 2026
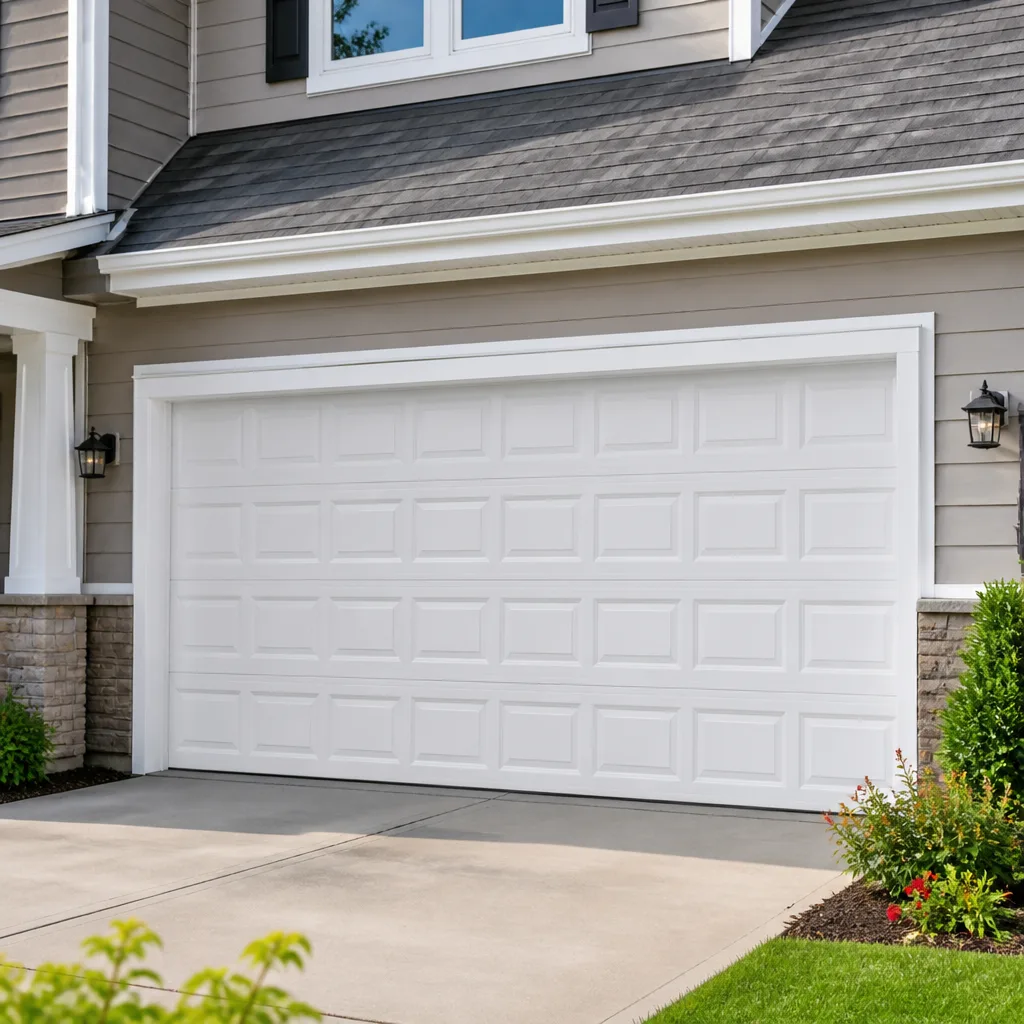 Raised-panel steel
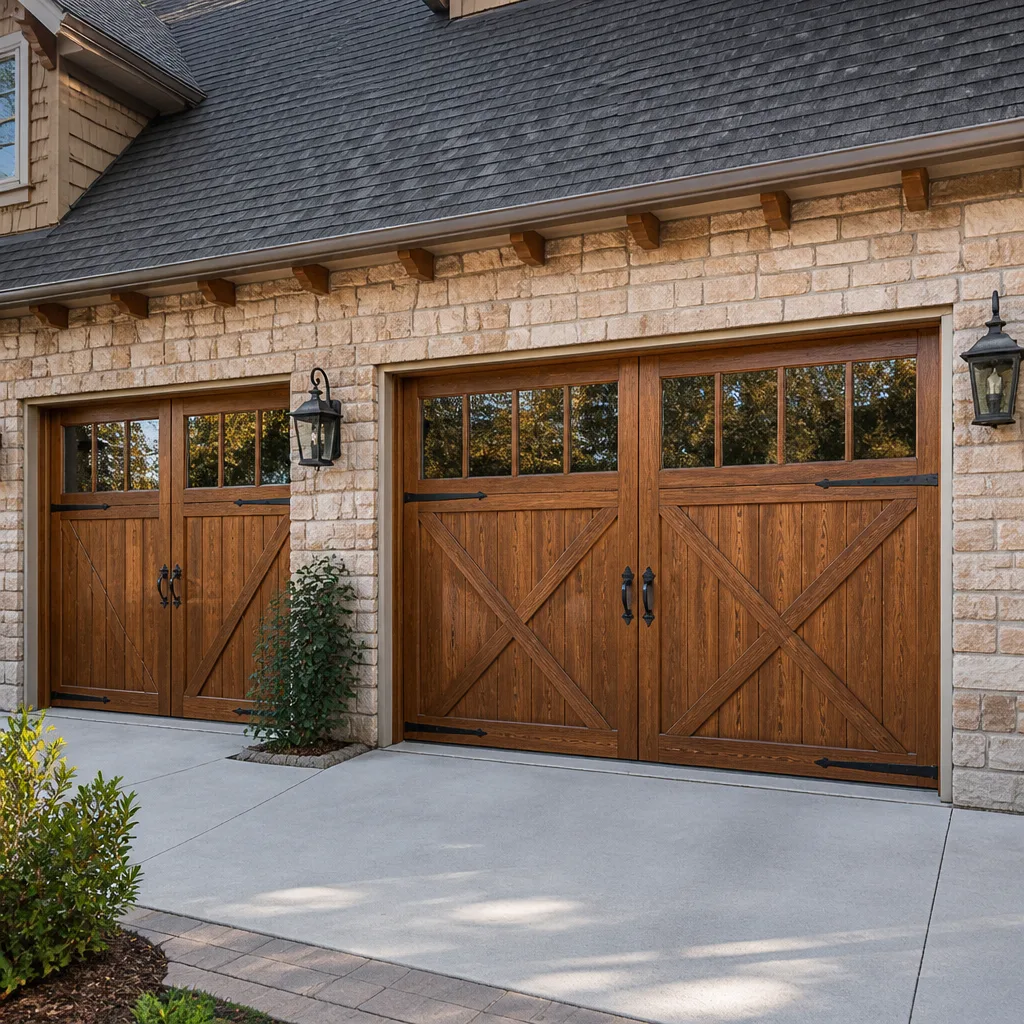 Carriage house
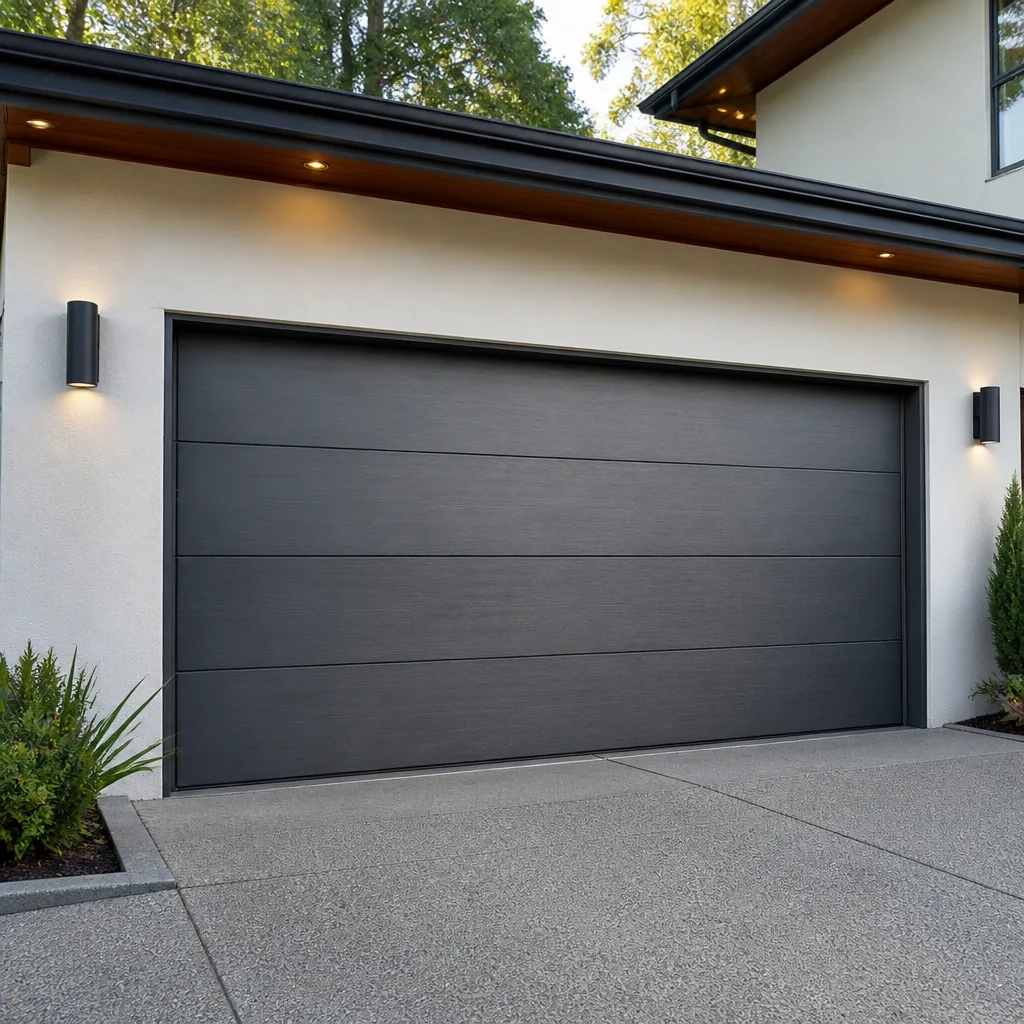 Modern flush
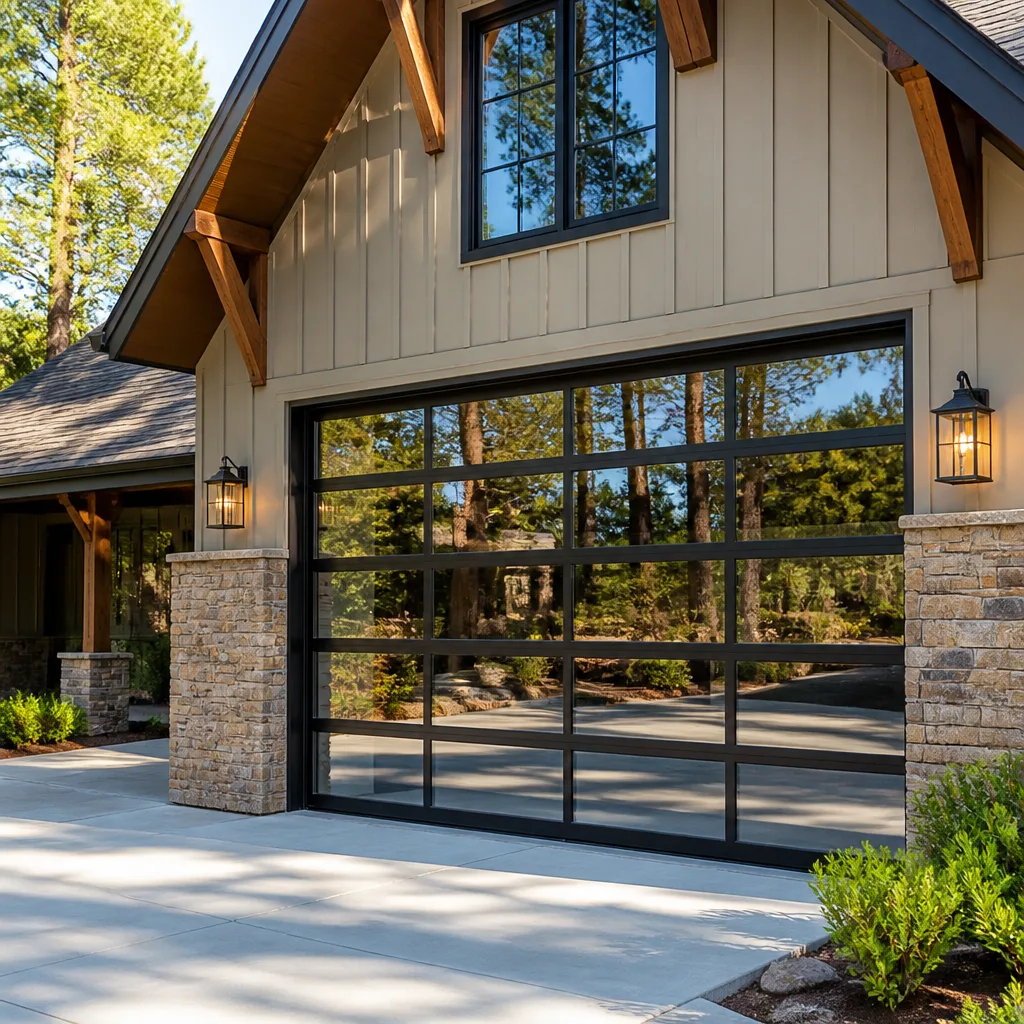 Full-view glass
 LiftMaster openers
 Chamberlain openers
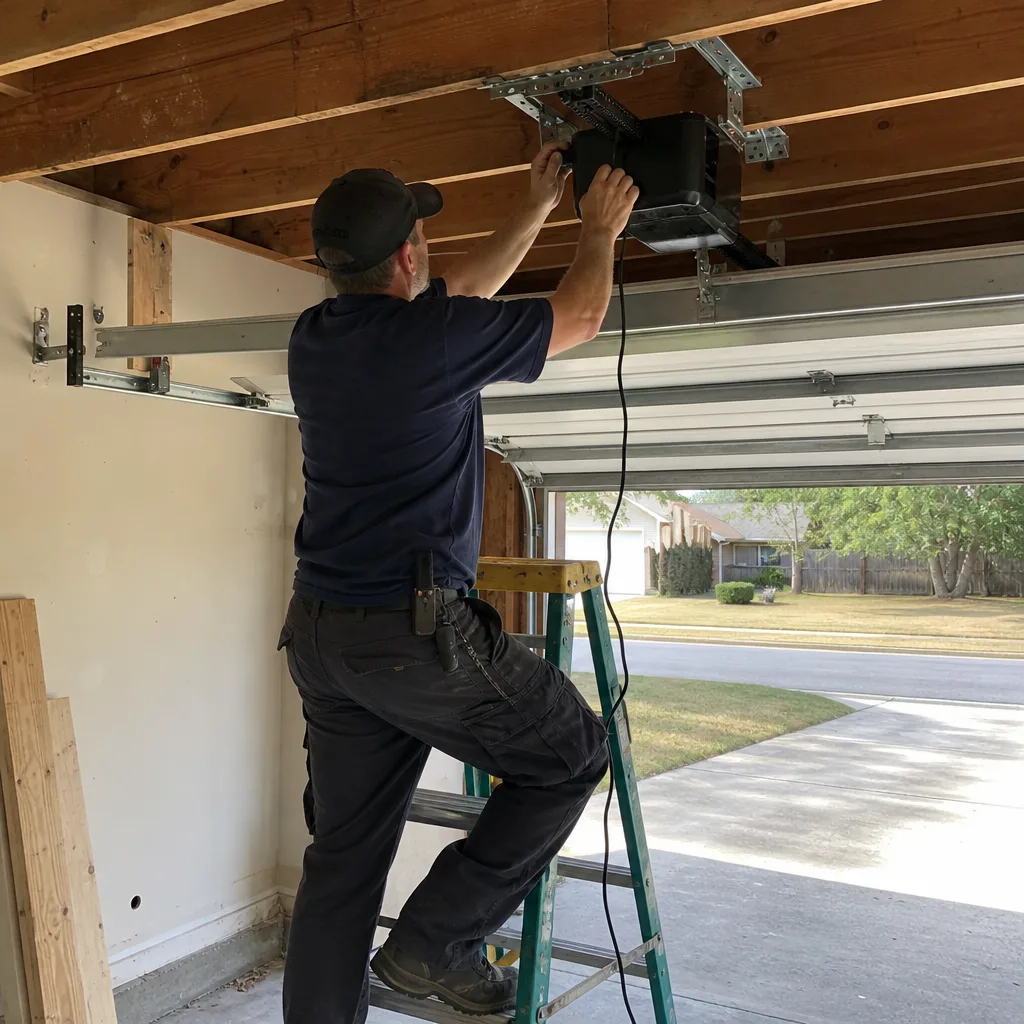
Full 25-point door and opener safety check with every visit - springs, cables, rollers, tracks, and your LiftMaster or Chamberlain opener included
You get a price before we start. It does not change when the pro arrives.
Get your free estimateGarage Door Permits, Codes & Inspections in Suffolk, VA: What You Need to Know
Most Suffolk homeowners assume a garage door swap is a no-permit job, and for a straight like-for-like replacement they’re usually right. The trouble starts the moment the project stops being like-for-like: you widen that opening a few inches to fit a bigger SUV, add a new smart opener that ties into the home’s wiring, or touch anything structural. Now you’ve crossed into permit territory, and plenty of contractors won’t flag it upfront. An unpermitted job can surface years later on a title search and stall a sale. This guide walks through exactly which garage door projects need a permit in Suffolk, how Virginia’s wind load rules shape your door panels, how HOA approval runs alongside city review, and what to expect on inspection day.
Quick Answer
In Suffolk, VA, a like-for-like garage door replacement on an existing opening typically does not require a building permit, but anything that changes the size of the opening, alters the structural framing, adds new electrical work for an opener, or changes the door’s wind-load rating generally does. HOA approval and city permitting are two separate processes that run in parallel. Before any door work begins, confirm the scope with the City of Suffolk’s building department and get any required approval in writing.
Styles & brands we work with
- Raised-panel steel
- Carriage house
- Modern flush
- Full-view glass
- LiftMaster openers
- Chamberlain openers
Table of Contents
- Which garage door projects require a permit in Suffolk, VA?
- How Virginia wind load requirements affect your door specs
- HOA approval for door changes in Suffolk’s planned communities
- What happens during a garage door inspection
- What happens if you skip the permit (title searches and remediation)
- When an opener swap touches electrical or structural work
- Step-by-step: how to plan a compliant garage door project in Suffolk
- Documents to keep for compliance and resale
Which garage door projects require a permit in Suffolk, VA?
The dividing line in Suffolk is whether the project changes the structure or the building’s rated performance, versus a straight swap of one door for another of the same size and rating. A same-size replacement on the existing opening is usually a no-permit job. A project that changes the opening, the framing, the electrical system, or the wind-load rating generally pulls a permit. That single principle resolves most of the confusion homeowners bring us.
Here’s how the categories sort out in practice:
Usually no permit required
- Replacing a single-car or double-car door with one of the same dimensions on the existing track and header
- Swapping springs, cables, rollers, hinges, or a torsion bar on the existing door
- Replacing an opener with a new unit that uses the same power connection and mounting
- Replacing or repairing individual damaged panels on the existing frame
- Adding a new exterior keypad or remote where no new wiring is required
Usually requires a permit
- Widening or narrowing the rough opening, even by a few inches for a larger vehicle
- Raising the header height to accommodate a taller door, or moving the header itself
- Adding or relocating structural framing, posts, or load-bearing connections around the opening
- Running new electrical circuits or wiring for an opener or smart-control system where none existed
- Converting a garage bay from one door configuration to another, or combining two bays into one
- Any change that alters the wind-load rating documented for the door assembly
Because the City of Suffolk’s building department is the authority on what your specific project needs, we always tell homeowners to make one phone call before work begins: confirm the scope with the plan reviewer or permit desk and get their answer documented. It takes ten minutes and it settles the whole question. If the answer is “yes, permit,” the process is straightforward and the inspection is quick. If the answer is “no permit needed,” having that confirmed before the door comes down gives you a paper trail for later. Our Thrive Garage Door Repair technicians can tell you what a project will involve mechanically, but the permit call belongs with the city.
How Virginia wind load requirements affect your door specs
Garage doors on exterior walls have to resist wind pressure, and Virginia’s building code uses a wind-load framework that rates assemblies by how much pressure they can handle. In practice, that means a garage door sold into a Suffolk home needs to be rated for the wind pressures its exterior wall will see, and the installation has to match that rating. The door label, the manufacturer’s spec sheet, and the actual installation all have to line up. When they don’t, an inspector can fail the project, and in a worst case the building department can require you to remove and re-install.
What homeowners should know about wind-load ratings:
- Every rated door carries documentation from the manufacturer showing the pressure rating and the reinforcement package that supports it.
- Rating depends on the door’s width, height, and the specific reinforcement hardware installed on it. Two doors of the same size can have different ratings if one has the reinforcement package and one doesn’t.
- The installation has to include every anchor, hinge, and brace listed in the manufacturer’s rated assembly. A door installed “close enough” is not a rated installation.
- If you replace an old unrated door with a rated one, the new documentation becomes part of the building’s compliance record. Keep it.
- Getting the spec right matters in Suffolk because wind events, including the tail end of hurricane season, are real. A door that came loose from its track or failed structurally during a storm is exactly what the wind-load framework is designed to prevent.
This is where brand knowledge matters on the installation side. Clopay, Amarr, Wayne Dalton, and Raynor all publish wind-load documentation for their rated product lines, and the package that supports the rating is specific to each door. If your project requires a rated door, ask the installer to show you the rated assembly documentation before installation starts. A handyman who “has a door that looks right” cannot provide that. When we install doors in Suffolk, matching the door spec to the building’s rated requirement is the first thing we sort out with the homeowner.
HOA approval for door changes in Suffolk’s planned communities
Here’s the piece most homeowners miss: HOA approval and city permitting are two separate processes, and your project can sit cleanly in one and be blocked entirely by the other. Even in cases where the city says no permit is required, your HOA’s architectural review board can still say the door you want isn’t allowed. The two reviews run in parallel, they take different amounts of time, and the HOA has no interest in whether the city approved you.
Suffolk has grown outward through planned communities, and most of those communities have architectural review processes. What typically comes up:
What HOA architectural review usually covers
- Door color and finish (a field-painted door in a non-conforming color is often rejected)
- Door style (carriage-house, raised-panel, or flat-panel may be controlled by the community’s design guidelines)
- Window placement and window options on the door
- Visible hardware finishes
- Any change to the opening that reads as an exterior alteration
How to run the two approvals in the right order
- Read your HOA’s design guidelines or architectural request form before ordering a door. Most communities have a specific document for door changes.
- Submit the architectural request with a photo of the proposed door, the color code, and the manufacturer’s spec sheet.
- Call the City of Suffolk building department with the same scope information to determine whether a permit is required.
- Hold off on ordering or installing until both answers are in writing.
- If both approve, ask the installer to keep the HOA approval letter and the city permit (if issued) together with the installation paperwork.
The most common conflict we see is a door the homeowner loves that fails the HOA’s color or style guidelines, after they’ve already been measured and priced. Getting the HOA approval first avoids that whole problem. A good installer will ask early in the process whether you’ve submitted to your HOA. Our garage door repair and installation team treats the HOA form as step one, not step five.
What happens during a garage door inspection
If your project pulled a permit, an inspector will confirm that the installation matches the approved plans and the manufacturer’s rated assembly. The inspection itself is usually short, often 15 to 30 minutes, and it’s mostly about documentation and hardware. A clean install with the paperwork in order passes on the first visit. Failures usually come down to missing rated hardware, a door spec that doesn’t match what was on the plans, or an opener wired without the required electrical permit.
What inspectors typically look at:
- Door is the approved model, size, and rating on the submitted plans
- Every hinge, anchor, and brace in the rated assembly is installed per the manufacturer
- Track brackets and header brackets are anchored correctly into framing
- Balance and spring tension are set to manufacturer specs
- Safety features: auto-reverse on obstruction, photo-eye alignment, and the force-setting on the opener
- Electrical work, if any, is on its own permit and inspected separately
- Installation documentation and any rated assembly paperwork is available on site
How we help installations pass the first time
Our approach is simple: we install to the manufacturer’s rated assembly, we keep the documentation on site, and we leave the door in better operating condition than we found it. That’s the “Fixed right, not just fixed for now” part of how we work. The door you have after the install should be safer and better-balanced than the one that came down, not just “new.”
What to have ready for the inspection
- The approved plan set or permit card
- The manufacturer’s rated assembly documentation for the installed door
- The HOA approval letter, if applicable (not a city requirement, but useful in your own records)
- Any electrical permit and inspection card, if separate electrical work was done
- Access to the garage interior and the door
A technician on site who understands rated assemblies and code expectations makes the inspection go smoothly. If you aren’t sure what documentation your project needs, call us at (888) 404-3987. We answer 24/7, and fast dispatch from 7am to 7pm Sunday through Friday puts a technician out to walk you through it.
What happens if you skip the permit (title searches and remediation)
Skipping a required permit is usually not discovered until later, and “later” almost always means a home sale. During a title search and the buyer’s inspection, unpermitted work can surface as a discrepancy between the county’s property records and what’s actually built. A buyer’s lender can require the work to be brought into compliance before closing. That means pulling a permit after the fact, having the work inspected, and potentially bringing the installation up to code. On a garage door project, that cost usually falls on the seller.
How it typically plays out:
- The county record on file for your home’s door and opening doesn’t match what’s installed. On a door that changed size, the opening dimensions alone flag the discrepancy.
- A homeowner’s insurance carrier reviewing a claim from a door failure or a wind event may ask for proof that a required permit was pulled. If not, the carrier can push back on coverage for that claim.
- The buyer’s lender requires a retroactive permit and inspection before the sale closes.
- The seller pays for the retroactive permit, for any remediation the inspector requires, and for the time it takes to complete both. That timeline alone can push a closing date out.
None of that is a reason to skip a project you need. It’s a reason to spend ten minutes confirming the scope before the door comes down. Our experience in Suffolk has been that most homeowners who end up in this spot weren’t trying to cut corners. They just didn’t know the scope crossed the line. If a project is properly permitted from the start, the sale happens on time and the buyer has documentation to rely on.
When an opener swap touches electrical or structural work
Replacing an older opener with a newer one of the same type, on the same mounting, usually is not a permit event. Installing a new opener where there wasn’t one, or one that needs a new circuit or a new mounting point, can be. Smart openers complicate this because they tie into the home’s Wi-Fi and, sometimes, into existing electrical runs that may not be to current code. The door’s mechanical system is straightforward. The electrical side is where permits come up.
When an opener swap is typically straightforward
- Replacing a LiftMaster, Chamberlain, Genie, or Craftsman opener with a new unit of the same type on the existing mounting
- Swapping a belt-drive for a belt-drive or a screw-drive for a screw-drive on existing mounting points
- Adding or replacing a wall-mounted control, keypad, or remote
When the opener swap usually needs a permit or licensed electrical work
- Adding a new opener where the garage door had none
- Running a new circuit or installing a new outlet to feed an opener
- Bringing an old opener circuit into compliance with current electrical code
- Changing the mounting point to a new position on the header or ceiling
Our garage door opener repair technicians work on LiftMaster, Chamberlain, Genie, Craftsman, and other leading brands, so the mechanical side is familiar. The electrical side is where we tell homeowners to make the same phone call they’d make for any other project: confirm with the City of Suffolk whether the electrical scope requires a permit, and let a licensed electrician handle anything that does. We know the openers. The city knows the permits.
Step-by-step: how to plan a compliant garage door project in Suffolk
Here’s the sequence we recommend for Suffolk homeowners planning any garage door project, whether it’s a like-for-like replacement or something bigger.
- Define the scope. Write down exactly what you want: size, style, brand, opener make and model, and whether the opening is changing. This is the document you’ll use for HOA, permit, and installer conversations.
- Read your HOA guidelines first. Pull your community’s design guidelines and architectural request form. Note color, style, and window requirements before you look at any doors.
- Submit the HOA architectural request. Include the manufacturer’s spec sheet, a photo of the door, and the color code. Get the answer in writing.
- Call the City of Suffolk building department. Describe the scope the same way you described it to the HOA. Ask directly: permit required, or not? Get the answer documented.
- Confirm the wind-load rating for the door. Ask the installer for the manufacturer’s rated assembly documentation and match it to your building’s requirement.
- Get a written estimate. Confirm the price before work begins. The written estimate sets the final price, and any change to scope gets priced in writing before the work continues.
- Schedule the install. Have the permit number (if applicable) and the rated assembly documentation ready for the installer.
- Get the inspection done. Have the documents on site and the space clear. A clean install with the paperwork in order passes on the first visit.
- Keep every document. Permit, inspection card, rated assembly paperwork, HOA approval letter, and the written estimate together. You’ll want them if you ever sell.
Documents to keep for compliance and resale
The single most useful habit in all of this is keeping a file on your garage door. When you sell a Suffolk home, a clean file does two things: it satisfies the buyer’s inspection, and it demonstrates the work was done properly. Creating the file takes minutes and pays off when you need it.
- The city permit (if one was issued) and the completed inspection card
- Manufacturer’s rated assembly documentation for the door, including wind-load rating
- HOA approval letter, if applicable
- Written estimate from the installer
- Manufacturer, model number, and installation date for the door and any opener
- Opener documentation, if new wiring or a new circuit was involved
If you’ve owned the home for years and don’t have these documents, don’t worry. The city has the permit history on file, and we can help you identify the make and model of the door and opener during a service visit. We work on what you already have, so identifying a Clopay or Amarr door by its panel build and hardware is routine. From there you can request copies of the rated assembly documentation from the manufacturer if you need them for a sale or a claim. Our team can help at (888) 404-3987. We answer 24/7.
Common Mistakes to Avoid
- Assumed no permit because a neighbor didn’t need one. A neighbor’s same-size replacement is a different scope than your opening change. Confirm your scope with the city; don’t assume theirs applies to you.
- Ordered the door before calling the HOA. The door arrives, the color fails the architectural review, and now you’re negotiating returns. Submit the HOA request first.
- Told the city “just a replacement” when the opening is changing. If the rough opening is changing even slightly, describe it that way. The permit reviewer’s answer depends on the scope as described.
- Skipped the wind-load rating conversation on an exterior garage door. A rated door needs its rated hardware, and the installation needs to match the assembled spec. Confirm this before the install, not after the inspection.
- Let a handyman take on an electrical opener swap that needed a licensed electrician. If a new circuit is part of the job, that work has its own requirements. Use a licensed electrician and keep the documentation.
- Didn’t keep the paperwork. A clean file saves you a scramble at sale time. If the buyer’s inspector asks for a permit and you don’t have the file, the county has the record but you’ll spend a weekend finding it.
- Assumed a smart opener was a straightforward swap. Some smart openers pull on an existing circuit in ways the old opener didn’t. Have the electrical side checked if the wiring is older.
See the difference
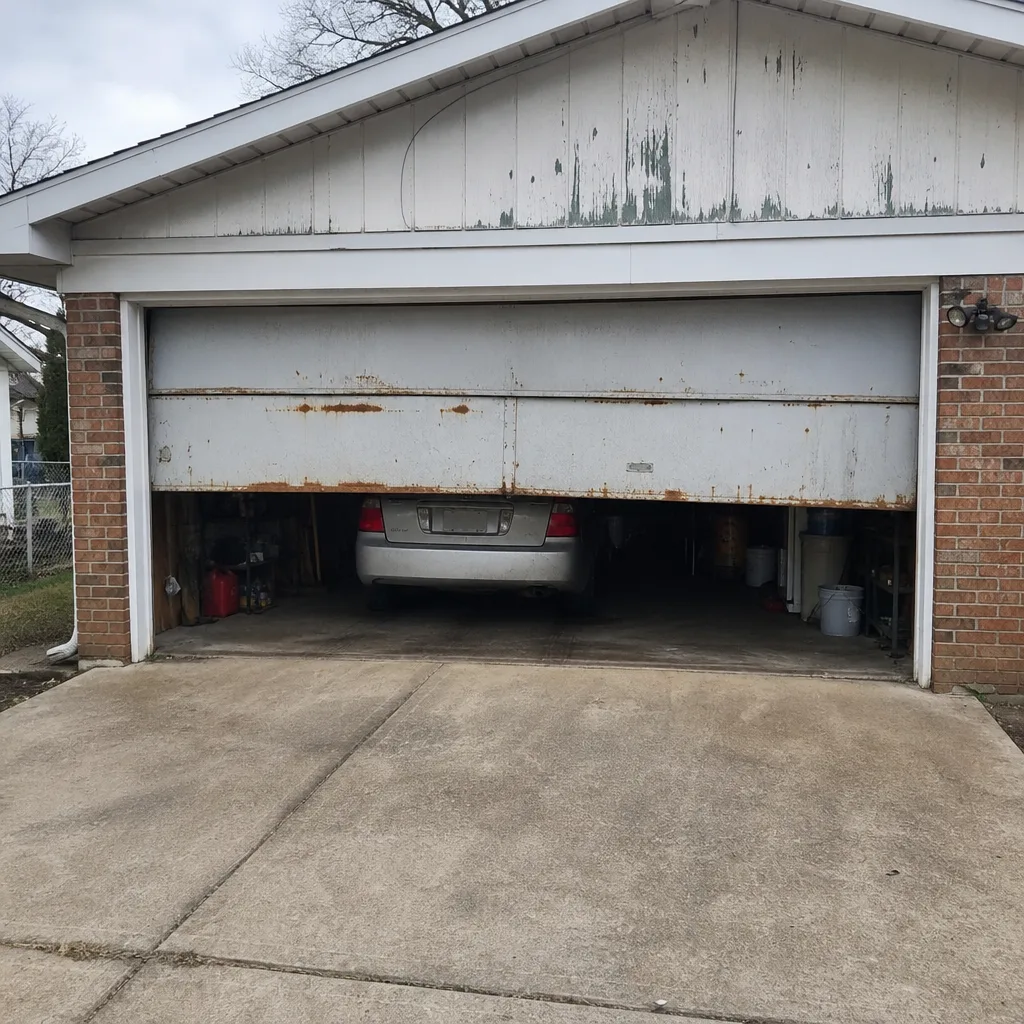 Before
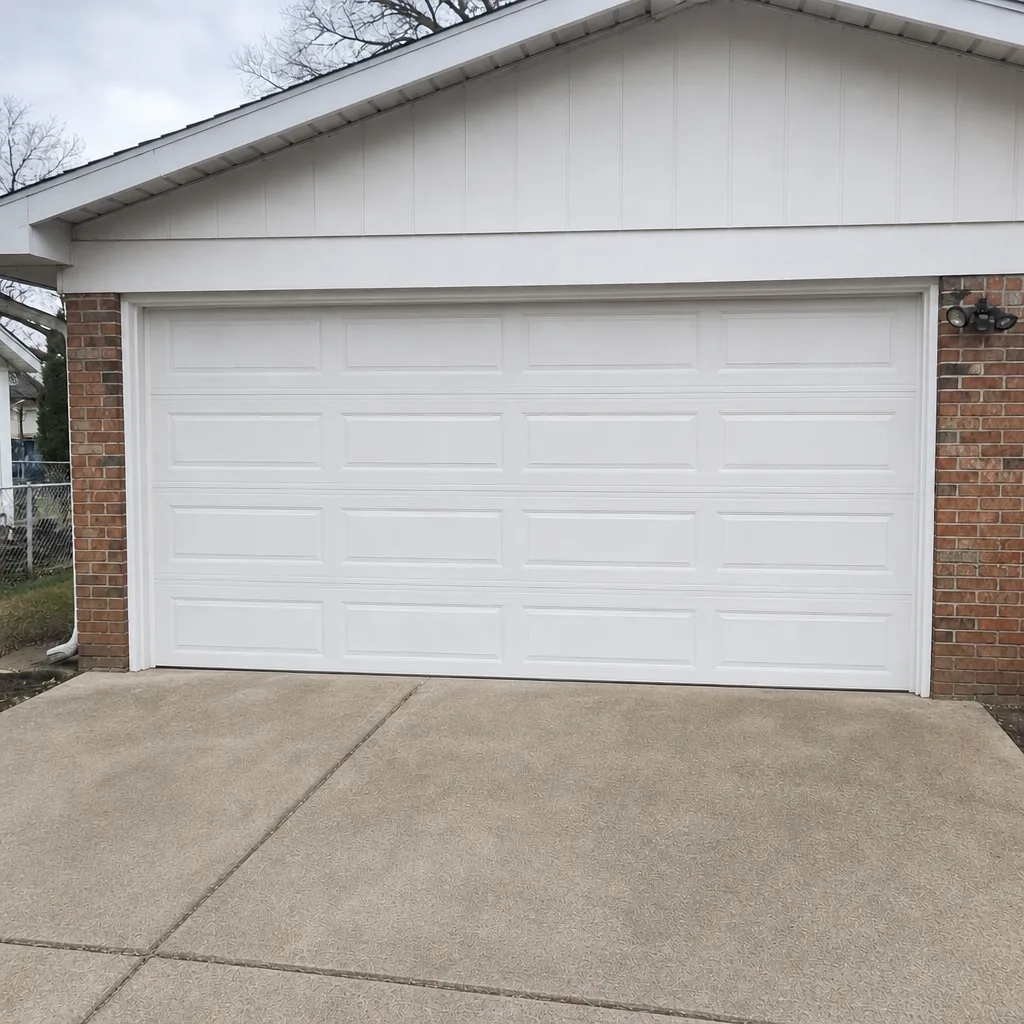 After
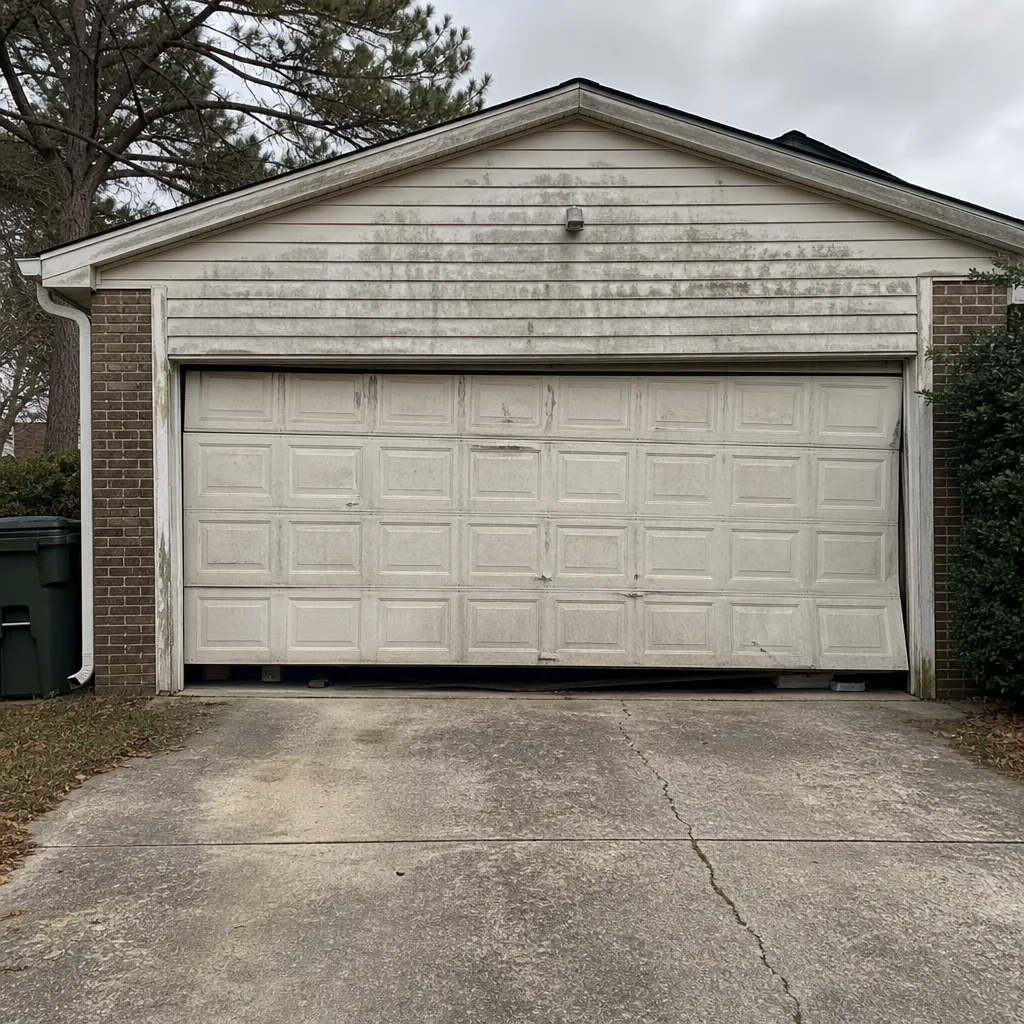 Before
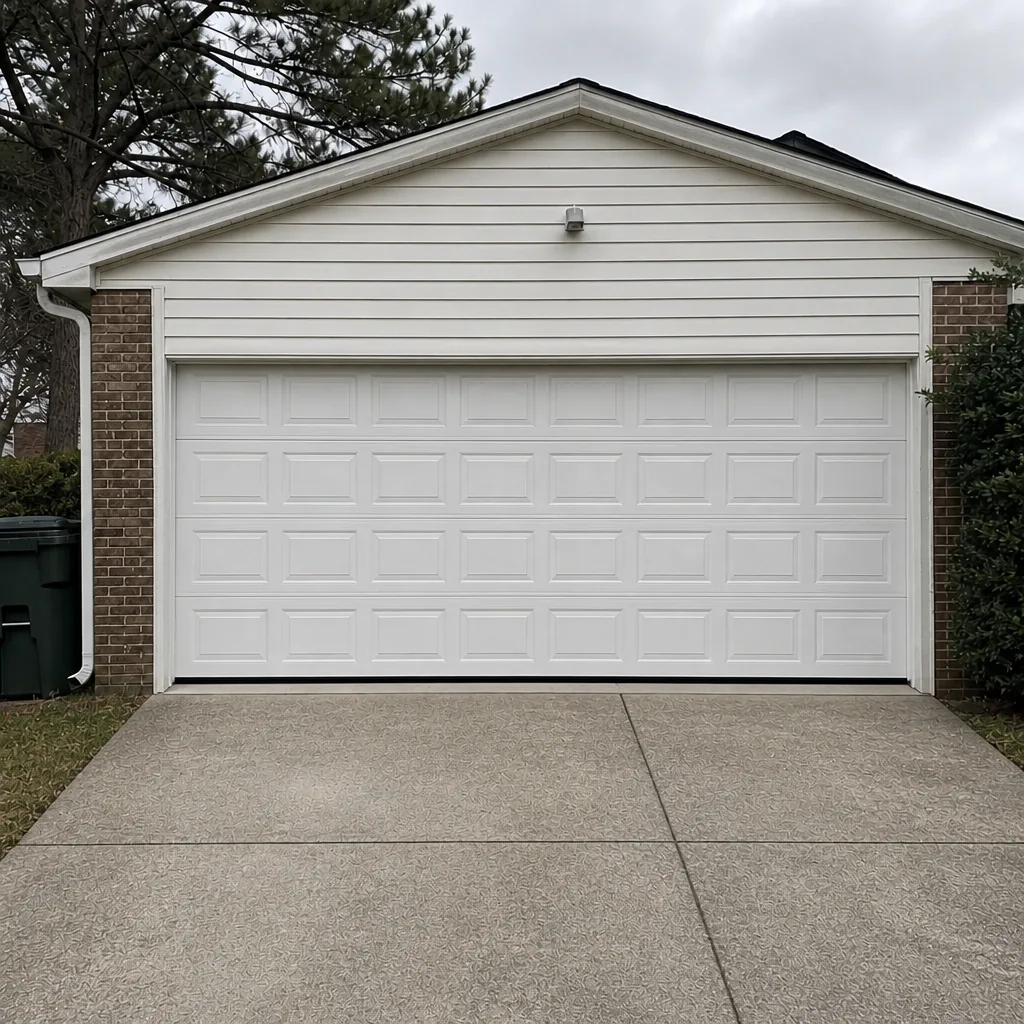 After
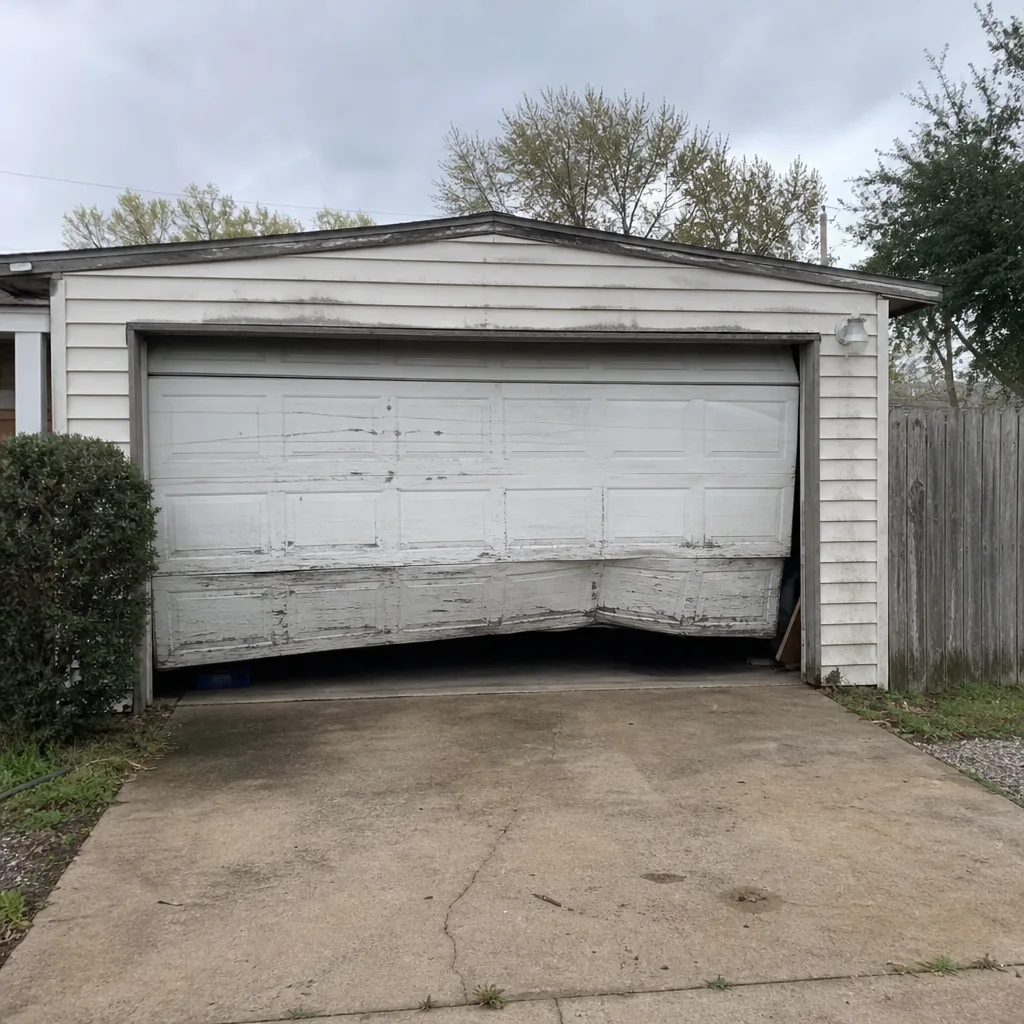 Before
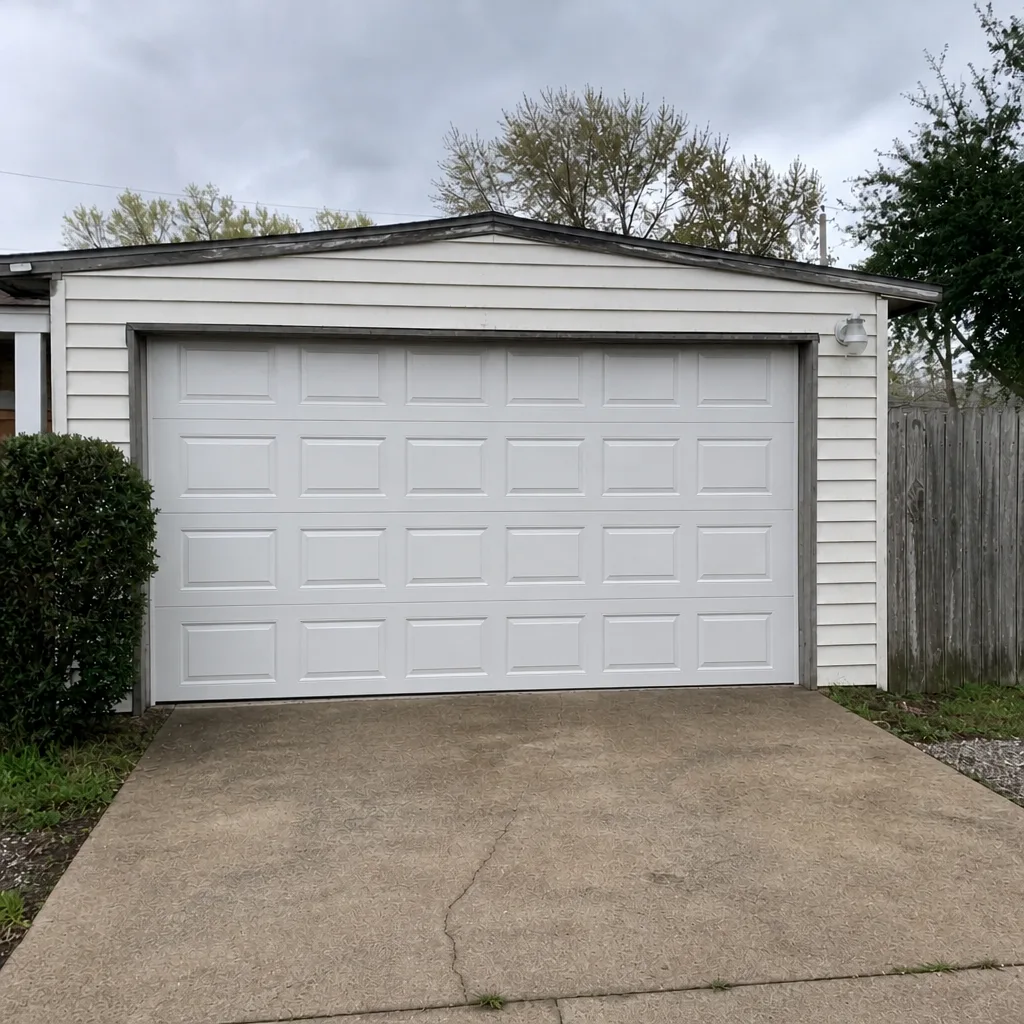 After
When to Call a Professional
Springs under tension, cables, and the torsion bar are the parts of a garage door system that cause serious injury when they fail or when they’re handled without the right tools. We don’t walk homeowners through adjusting or replacing them; we send a trained technician. Same for anything structural around the opening, and same for the electrical side of an opener swap. Beyond those, call us if a door has come off its track, if panels are damaged in a way that affects the track alignment, if the opener has begun reversing or failing intermittently, or if you’re planning an install and want the scope walked through before you call the city. Thrive Garage Door Repair offers free estimates in Suffolk. Call (888) 404-3987, and our technicians have up to 8 years of experience to help you plan the project correctly from the start.
Frequently Asked Questions
In most cases, a like-for-like replacement of a garage door on the existing opening does not require a building permit in Suffolk, but any change to the opening size, structural framing, wind-load rating, or electrical work does. Call the City of Suffolk building department with your exact scope and get the answer in writing before work starts. For an exact quote on the install, call (888) 404-3987. Estimates are free.
Yes, it can. Unpermitted structural or door-related work can surface during the buyer’s inspection or the title search as a mismatch with county records, which can lead a buyer’s lender to require remediation before closing. On a project with an opening change, the discrepancy is usually apparent. Pulling a permit upfront avoids the whole issue, and the documents protect you through the sale.
Yes. HOA architectural review and city permitting are entirely separate processes, and the HOA can reject a door the city has no objection to, usually on color, style, or window grounds. That’s why we recommend submitting the HOA request first and waiting for the written answer before ordering the door. Our team can help you identify compliant doors from Clopay, Amarr, Wayne Dalton, and Raynor to match what your community requires.
Keep the permit (if one was issued), the inspection card, the manufacturer’s rated assembly documentation, the HOA approval letter, and the written estimate together. If the opener was replaced and any new wiring was added, include the electrical documentation too. This file is what you’ll reach for if a buyer’s inspector ever asks for proof, or if a claim arises from a wind event.
Usually not if it replaces an existing opener on the same mounting and power connection, but it can if a new circuit or outlet is needed. Smart openers tie into the home’s Wi-Fi, and the electrical side is where the permit question comes up. Call the City of Suffolk with the scope, and use a licensed electrician for any new wiring. We repair openers from LiftMaster, Chamberlain, Genie, and Craftsman, so the mechanical side is handled by a single visit.
Yes. Our technicians are licensed and insured, and they have up to 8 years of experience working on doors and openers. We work on what you already have, so if the door on your home is a Clopay, Amarr, Wayne Dalton, or Raynor, our team can diagnose and repair it without steering you toward a replacement sale. For service in Suffolk, call (888) 404-3987. We answer 24/7, and fast dispatch from 7am to 7pm Sunday through Friday gets a technician out to take a look.
The Bottom Line
Most garage door projects in Suffolk don’t need a permit, and the ones that do are usually the ones that change something structural or electrical. The straightforward test is this: if the door is the same size on the same opening with the same rated requirements, you’re probably fine. If the opening, the framing, the wind-load rating, or the electrical system is changing, assume a permit is needed until the City of Suffolk tells you otherwise. Run the HOA process alongside the permit process, not after it. Keep every document. And if the project involves springs, cables, or the structural side of the opening, have a trained technician handle the work rather than taking it on yourself. A clean install from the start is cheaper than a remediated one.
If you’re planning a door or opener project in Suffolk and want to talk through the scope before you call the city, our team is glad to help. Thrive Garage Door Repair works on what you already have, from a stuck spring to a full new door. Call (888) 404-3987 for a free estimate. We answer 24/7. Fast dispatch from 7am to 7pm, Sunday through Friday.
Written by the team at Thrive Garage Door Repair.