
Last updated November 15, 2026
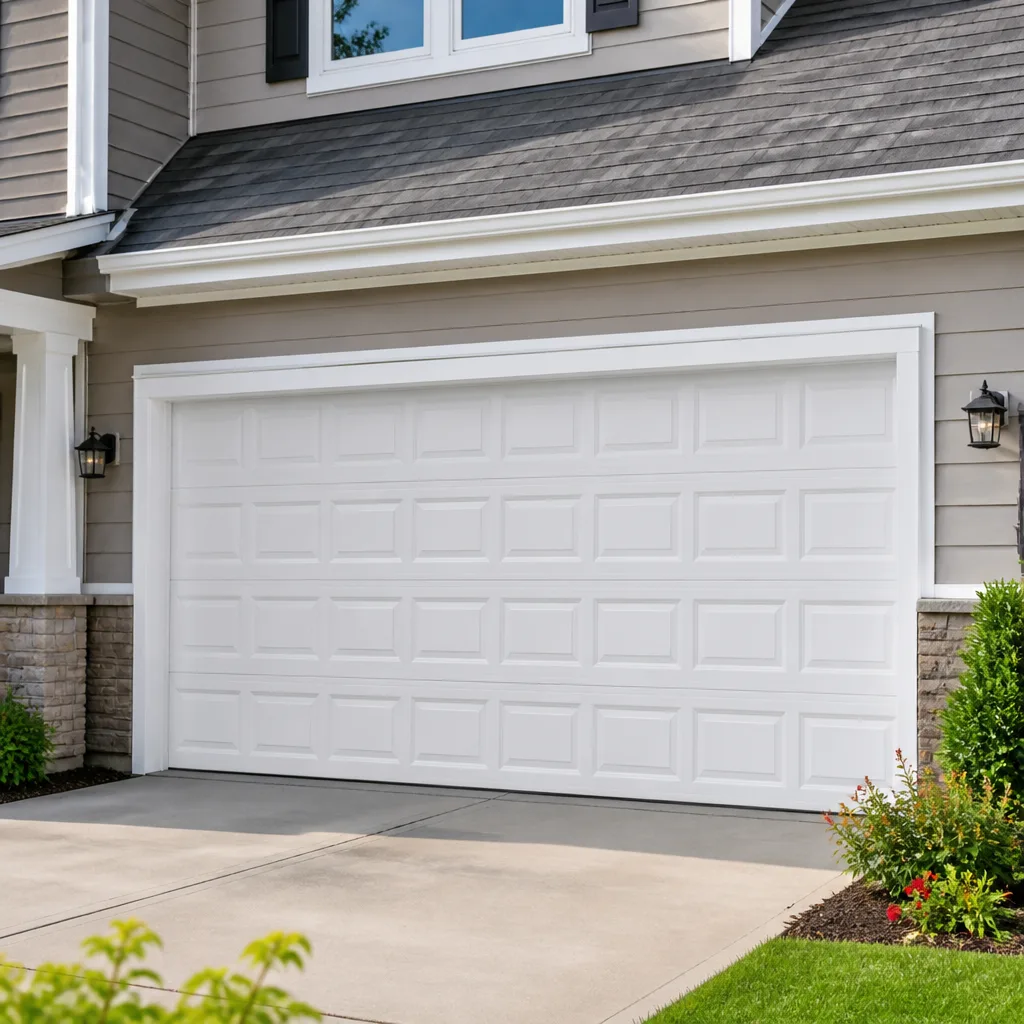 Raised-panel steel
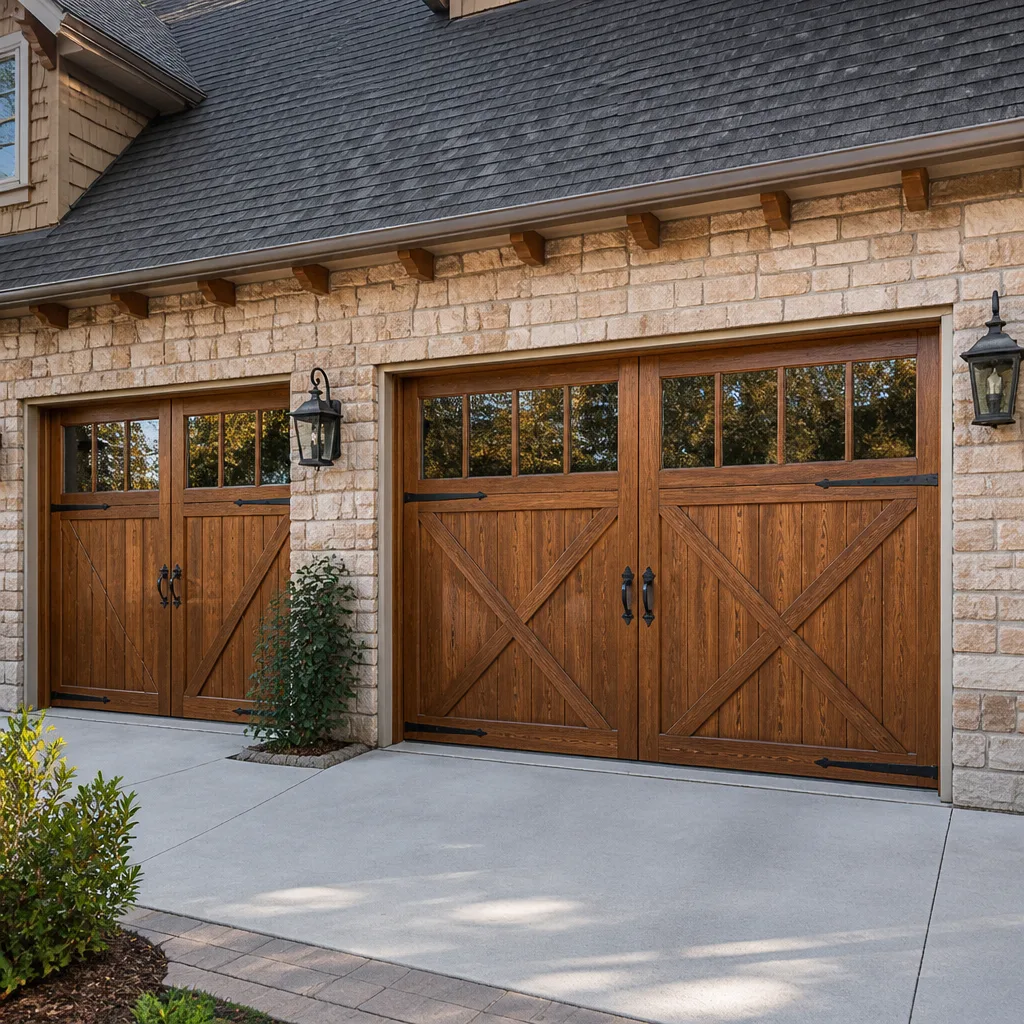 Carriage house
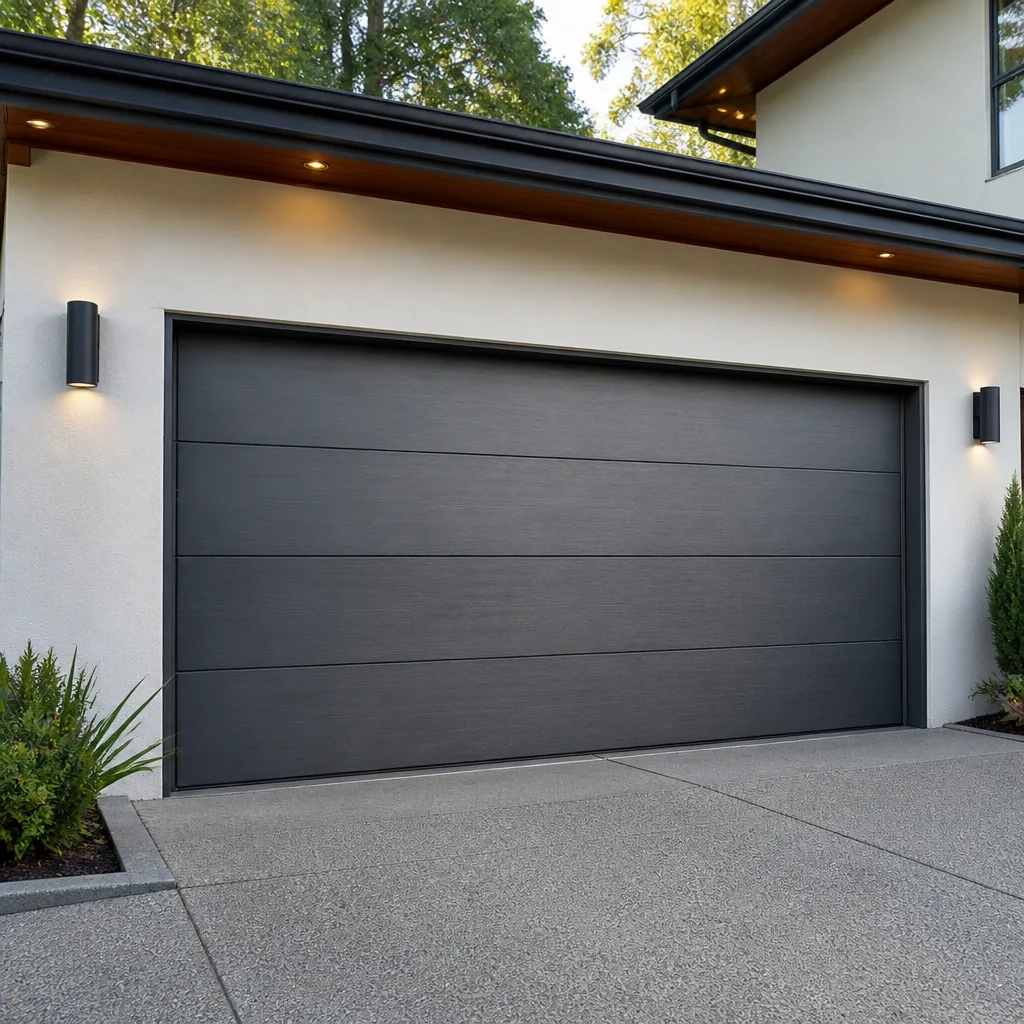 Modern flush
 Full-view glass
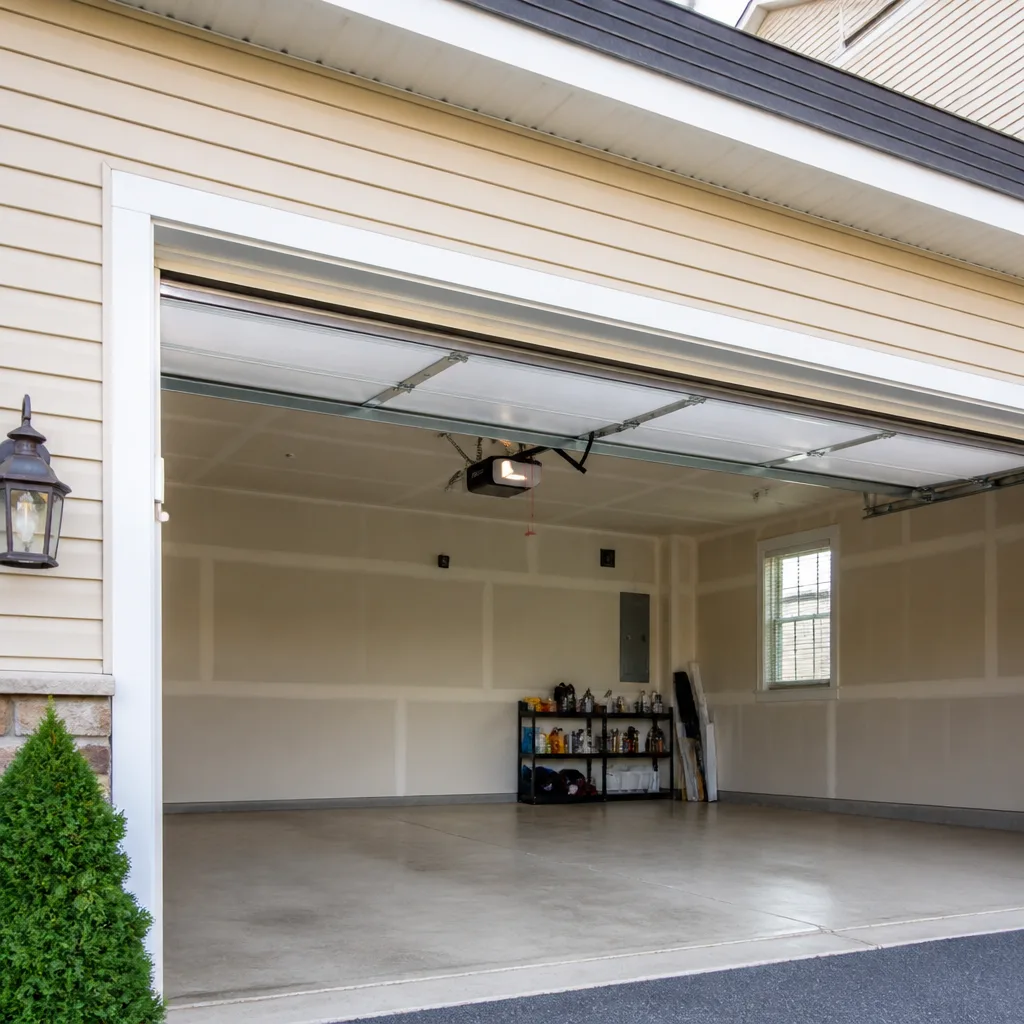 LiftMaster openers
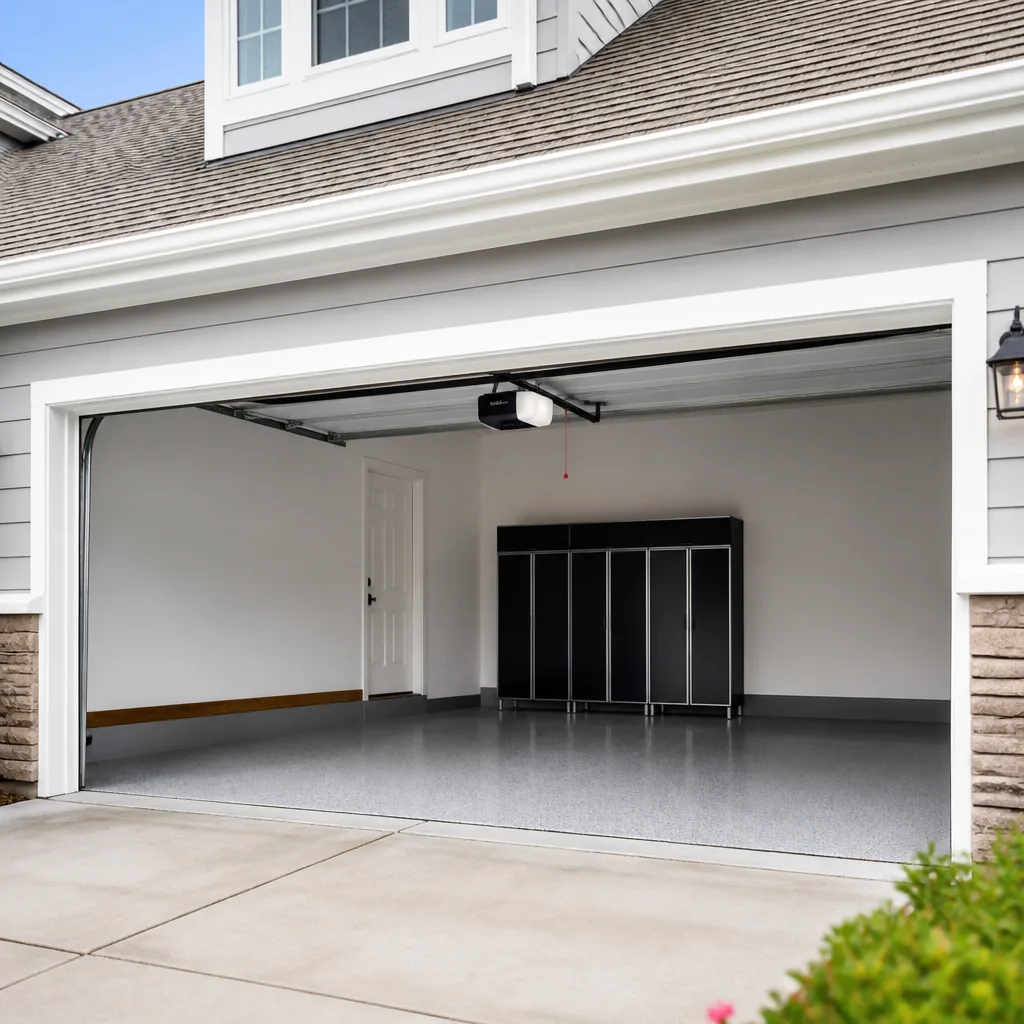 Chamberlain openers
Full 25-point door and opener safety check with every visit - springs, cables, rollers, tracks, and your LiftMaster or Chamberlain opener included
You get a price before we start. It does not change when the pro arrives.
Get your free estimateGarage Door Repair Maintenance Schedule: What to Do and When
Most homeowners treat garage door upkeep like a car’s annual inspection, a single checkup that resets the clock until next year. That’s the wrong model. Springs don’t fail from age alone; they fail because nobody caught the fatigue building for months, and because well-meaning homeowners spray the wrong lubricant on the wrong part and hide the warning signs. In Suffolk, where humidity swells in summer and cold snaps tighten metal overnight, the timing of each task matters as much as the task itself. This guide lays out a month-by-month schedule for your door, the right lubricant for every moving part, the balance test that reveals spring health, and a parts-lifespan cheat sheet so you know what to budget for and when.
Quick Answer
A garage door needs light monthly attention (visual inspection and a balance test), a deeper seasonal tune-up at the start of summer and the start of winter, and an annual professional inspection covering springs, cables, and opener force settings. In Suffolk’s climate, the two hardest months on a door are the humid stretch of late summer and the temperature swings of January and February, so the spring and fall tasks are where most failures get prevented.
Styles & brands we work with
- Raised-panel steel
- Carriage house
- Modern flush
- Full-view glass
- LiftMaster openers
- Chamberlain openers
Table of Contents
- Why a Seasonal Schedule Beats an Annual Checkup
- The Monthly Five-Minute Check
- How to Run the Balance Test
- The Right Lubricant for Every Part
- A Suffolk Season-by-Season Calendar
- Parts Lifespan: Repair or Replace?
- Maintenance That Protects Your Warranty (and What Voids It)
- What an Annual Professional Inspection Covers
Why a Seasonal Schedule Beats an Annual Checkup
A garage door is a system of roughly a hundred moving and load-bearing parts, and they don’t wear at the same rate or in the same season. An annual inspection catches problems that already exist. A seasonal schedule catches them while they’re still cheap to fix.
The difference plays out most clearly in Suffolk’s weather. Summer humidity works on wood and steel panels, swelling wood jambs and encouraging rust on bare metal edges. Then winter arrives with sharp temperature swings that make steel contract and springs lose tension at different rates than they did in July. A door that felt balanced in October can feel noticeably heavier by February. If the only time anyone looks at it is once a year, the door spends half of that year running out of adjustment.
There’s a second reason a schedule matters more than a checklist: prevention cascades. A dry hinge wears itself and its roller. A worn roller grinds the track. A misaligned track strains the opener. A struggling opener pulls harder on the springs. Catch the dry hinge in month one and none of the rest happens.
The schedule in this guide is built around three layers:
- Monthly: a five-minute visual check and the balance test, which together catch most spring and alignment problems early.
- Seasonal: lubrication, hardware tightening, and weather-seal inspection timed to Suffolk’s summer humidity and winter temperature swings.
- Annual: a professional inspection of the load-bearing parts (springs, cables, opener force) that you shouldn’t be adjusting yourself.
If your door is already making noise or running rough, the schedule is still the right frame, but start with a garage door repair visit to get it back to a healthy baseline first.
The Monthly Five-Minute Check
Five minutes once a month is the highest-return maintenance you can do. The goal is not to fix anything but to notice what’s changing. Here’s the routine, in order:
- Listen before you look. Open and close the door from inside the garage and just listen. Grinding, squealing, popping, or a rhythmic thump all point to different parts. A single sharp pop under load can mean a cable is jumping a drum. A rhythmic thump usually tracks to a worn roller.
- Look at the springs. With the door closed, examine the coil springs above the door (torsion) or alongside the tracks (extension). You’re looking for gaps in the coil, a visible bend, or rust bloom. A spring with a clear gap has already broken; stop using the door.
- Check the cables. Both cables should be taut and sitting neatly in their drums. Fraying, kinks, or slack mean a cable is on its way out.
- Run a finger along the rollers. They should spin freely with light resistance. A roller that wobbles, is flat-spotted, or grinds needs replacing.
- Push on the hinges. Loose hinges rattle and eventually wallow out their mounting holes. Tighten anything that moves by hand.
- Look at the weather seal. The bottom rubber and the side jambs should sit flush. Gaps let in pests, water, and humidity, which matters more in Suffolk’s wet months.
- Run the safety reverse test. Place a small object in the door’s path and confirm the door reverses when it contacts it. This is the one check you should never skip, because it’s the check that protects people and pets.
None of these steps require tools beyond maybe a screwdriver for a loose hinge. What they give you is a monthly snapshot: is the door the same as last month, or is something drifting? Drift is the early warning. If you notice anything on this list that you can’t resolve, that’s the moment to book a professional look, not after the door stops working entirely.
How to Run the Balance Test
The balance test is the single best indicator of spring health, and it takes about a minute. It tells you whether the springs are still carrying the door’s weight or whether they’ve quietly lost tension and are dumping that load onto your opener.
Here’s how to run it:
- Disconnect the opener. Find the emergency release cord (usually red) hanging from the opener rail and pull it. This disengages the door from the opener so you’re testing the door alone.
- Raise the door by hand to the halfway point. Use the handle or a bottom panel edge, and lift slowly.
- Let go and watch. A balanced door should hold its position, or drift only slightly, when you release it at the halfway point.
- Interpret the result. If the door sags down under its own weight, the springs have lost tension. If it rises on its own, they’re over-tensioned or one of a pair is failing. Either result means a professional adjustment is due.
- Reconnect the opener. Push the door back down, then re-engage the trolley by pulling the release cord toward the door until it clicks.
Springs are the most dangerous component on a garage door. They’re under lethal tension, and adjusting or replacing them is not a homeowner task. What the balance test gives you is information: it tells you, months before a spring snaps, that the door is riding on borrowed time. We’ve seen doors where the balance test should have flagged trouble a full season before the spring let go; a door that sags now is a door that will eventually stop lifting.
Run the balance test on the first of every month, or at minimum at the start of each season. If the result changes between two tests, the spring is actively losing tension and needs professional attention. For a fuller look at spring symptoms and repair options, see our repair guide.
The Right Lubricant for Every Part
This is where well-meaning maintenance does the most damage. The most common mistake we see is WD-40 sprayed on the springs, which is actively harmful. WD-40 is a solvent, not a lubricant: it strips the factory coating and leaves the spring dry, which accelerates rust pitting and makes stress fractures more likely. It also creeps onto nearby components where it shouldn’t be.
Each part needs a specific product, and the difference matters:
- Springs: a white lithium grease or a silicone-based garage door lubricant. Not WD-40, not motor oil.
- Rollers: a few drops of lightweight machine oil at the roller stem (not the roller face). Sealed-bearing rollers are best left alone; they’re lubed for life.
- Hinges: a light spray of white lithium grease on the pivot points.
- Tracks: none. Tracks should be wiped clean with a dry cloth, never lubricated. Grease on tracks attracts grit and causes tracking problems.
- Opener chain or screw: a chain needs a light, clean chain lubricant designed for garage openers. A belt drive needs nothing.
- Locks and latches: a graphite or dry-film lubricant, not oil, to avoid gumming.
Do this lubrication pass once in late spring (before the humidity climbs) and once in late fall (before the cold). Wipe off old grease first; clean surfaces accept new lubricant better than greasy ones. And keep the lubricant off the door panels and paint. Most lubricants will stain paint and can soften weather-stripping if they sit on it.
If you’ve been using WD-40 on the springs for years, that doesn’t mean the springs are ruined; it means they’re worth a closer look at the next professional inspection, because dry springs rust faster. The fix from here is to switch to the right product and keep the springs coated.
A Suffolk Season-by-Season Calendar
Here’s the schedule, mapped to Suffolk’s actual seasons. The dates are approximate; the point is the sequence and what each season stresses.
Spring (March to May)
- Early spring: a full cleaning of the tracks, a lubrication pass on springs, hinges, and rollers, and a balance test.
- Mid-spring: tighten all visible hardware (hinges, brackets, track bolts) by hand, then check the weather seal for cracks from winter.
- Late spring: a professional inspection to time the year’s big items (spring condition, cable wear, opener force) before the heavy-use season.
Summer (June to August)
- June: this is the humidity ramp. Wipe down any bare metal edges on steel panels, check for early rust bloom, and confirm the paint coating is intact.
- July: expect the door to feel heavier as humidity swells wood jambs and wood composite panels. Recheck the balance test mid-month.
- August: storm prep. This is prime hurricane and summer storm season in Suffolk, so check that the door closes fully and seals at the bottom, and confirm the safety reverse still works.
Fall (September to November)
- September: a second lubrication pass before the humidity drops and the door starts running on cold-season tolerances.
- October: a full weather-seal replacement if needed. Cold air arriving through a bad bottom seal stresses the opener as the door works harder to seat.
- November: the big seasonal service. Check springs, cables, rollers, and opener settings, and tighten everything that loosened over the summer.
Winter (December to February)
- December: temperature swings begin. Expect the door to run a little differently; rerun the balance test.
- January to February: the coldest stretch. Watch for a door that struggles to open in the morning. That’s a tension-and-opener-force symptom, and it’s a reason to call, not to raise the opener force setting yourself.
For a full-service company used to Suffolk’s seasons across brands, Thrive Garage Door Repair is a good place to start if you’d rather have a professional handle the annual inspection.
Parts Lifespan: Repair or Replace?
Knowing how long each part should last tells you whether maintenance alone is enough or whether it’s time to budget for replacement. These are typical ranges under normal use (two to four cycles a day):
- Springs: five to ten years of cycles for extension springs, seven to twelve for torsion springs. In Suffolk’s humid summers, the lower end is common because rust accelerates fatigue.
- Cables: five to eight years. They’re usually replaced with the springs.
- Rollers: five to ten years for steel; nylon often outlasts steel but cracks.
- Hinges: ten to fifteen years with regular lubrication.
- Tracks: fifteen to twenty years if they’re never bent.
- Bottom seal and weather-stripping: three to five years. This is the part Suffolk’s humidity wears fastest.
- Opener motor: ten to fifteen years on a belt or chain drive; smart control boards often need attention in the later years.
The general rule: replace when the part is near its lifespan and has already shown symptoms, or when a repair costs more than half a new part. Repair when the part is young and the issue is isolated. Springs are almost always replaced, not repaired; a cracked or fatigued spring is never worth reusing. Cables and rollers are cheap enough that when they’re worn, they go. The opener is the big one, because a failing opener forces a real repair-or-replace decision; for more on that, see our garage door opener repair page.
Maintenance That Protects Your Warranty (and What Voids It)
Garage door manufacturers and opener makers often condition their warranties on normal maintenance. Doing the routine tasks correctly helps protect that coverage, and doing them incorrectly can void it. Here’s the split:
What helps: keeping the door lubricated and clean, keeping the tracks free of debris, not overloading or over-cycling the door, and keeping records of routine maintenance and professional inspections. Many warranties also require reasonable care and won’t cover neglect.
What can void coverage: using the wrong lubricant on springs or tracks (WD-40 on springs, grease on tracks), attempting your own spring or cable replacement (which can both void the warranty and cause serious injury), and improperly adjusting opener force settings. Raising opener force to force a struggling door to open is the most common shortcut and the one most likely to burn out the motor or strip the opener gear, shortening its life and potentially voiding coverage. Most warranties also require you to have issues handled by a qualified professional; when it comes time to do that, Suffolk‘s repair pros can help.
Before you start, check the paperwork for what each part warranty requires. Note that a warranty on new door panels is separate from the warranty on the opener, which is separate from the springs, and each has its own maintenance terms. A belt-driven opener from LiftMaster and a screw-drive Genie have different expectations; read the manual for the model you actually own. If you’re not sure what you have, our garage door opener repair service covers most common makes.
Manufacturer warranty terms vary, and some require professional parts installation to stay in effect. If your door or opener is newer and you want the covered parts kept covered, confirm the terms before you do any work beyond cleaning and light lubrication yourself.
What an Annual Professional Inspection Covers
The annual professional inspection is where the load-bearing parts get checked by someone trained to see early fatigue. Here’s what it covers, and how it differs from the monthly check a homeowner runs:
- Springs: measured for tension loss and inspected for micro-fractures along the coil.
- Cables: checked for fraying, stretched strands, and proper drum seating.
- Rollers and hinges: checked for wear and replaced if near end-of-life.
- Tracks: checked for plumb and alignment; bent tracks repaired or replaced.
- Opener force settings: checked and corrected against the door’s actual weight; this is the one adjustment most homeowners get wrong.
- Safety reverse: tested and confirmed.
- Weather seals: checked and replaced if they’ve gone hard or cracked.
The professional’s job isn’t just to find problems; it’s to catch the ones you can’t see. A spring that looks intact from the floor can be a hairline crack away from snapping, and the balance test can’t detect that. We know Clopay and Amarr panel hardware, and how it differs from Wayne Dalton and Craftsman systems, so what gets replaced during a tune-up matches what the door was built for. That’s what “fixed right, not just fixed for now” actually means in practice.
The inspection should be a full-hour service, not a five-minute glance. If it doesn’t cover the opener, ask; the opener is where most escalations start.
Common Mistakes to Avoid
- Spraying WD-40 on the springs. It’s a solvent, not a lubricant. It strips the protective coating, dries the spring, and accelerates rust pitting and fatigue fractures. Use white lithium grease or a silicone-based garage door lubricant.
- Greasing the tracks. Tracks should be clean and dry. Grease on tracks collects grit, which causes the rollers to track unevenly and the door to go crooked. Wipe tracks with a dry cloth instead.
- Raising the opener force to force a struggling door open. This masks the real problem and burns out the opener motor and gears. If the door struggles, the spring tension is the issue, and that’s a professional fix. This matters especially in Suffolk’s winter cold snaps, when the temptation to crank up the force is highest.
- Testing the door with the opener still connected. The balance test is meaningless if the opener is engaged; the door will simply travel like it’s on rails. Always pull the release cord first. Run the test on the first of the month so you catch spring fatigue months before it fails.
- Ignoring a door that runs differently after a season change. A door that struggles in the cold or feels heavier in humid months is telling you the tension has drifted. Book an inspection before it becomes a snapped spring.
- Attempting your own spring or cable replacement. This is the one maintenance task you should never do yourself. Springs are under lethal tension, and a mistake can cause serious injury. It can also void the manufacturer warranty.
- Skipping the annual professional inspection because the door “seems fine.” A door that seems fine can still be a balance test and a spring tension loss away from surprise failure. The inspection catches what the monthly check can’t.
See the difference
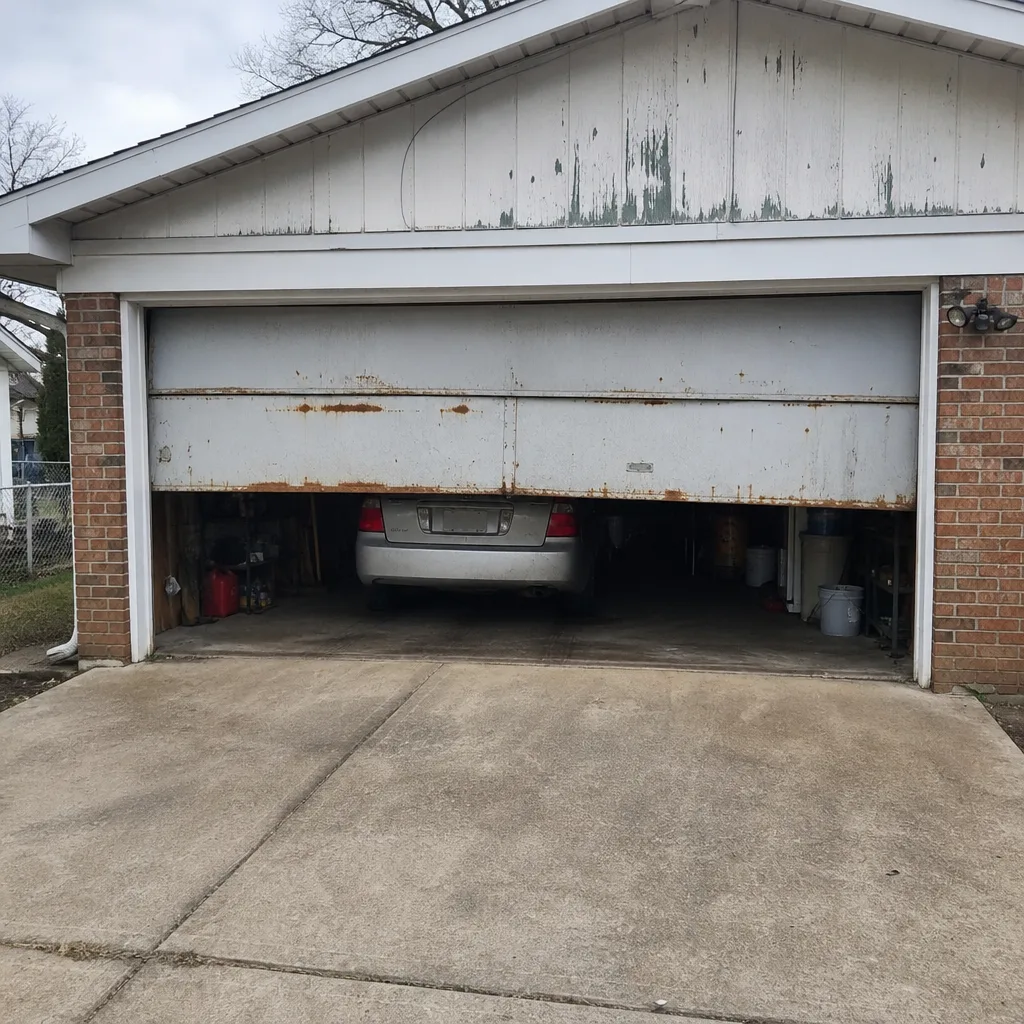 Before
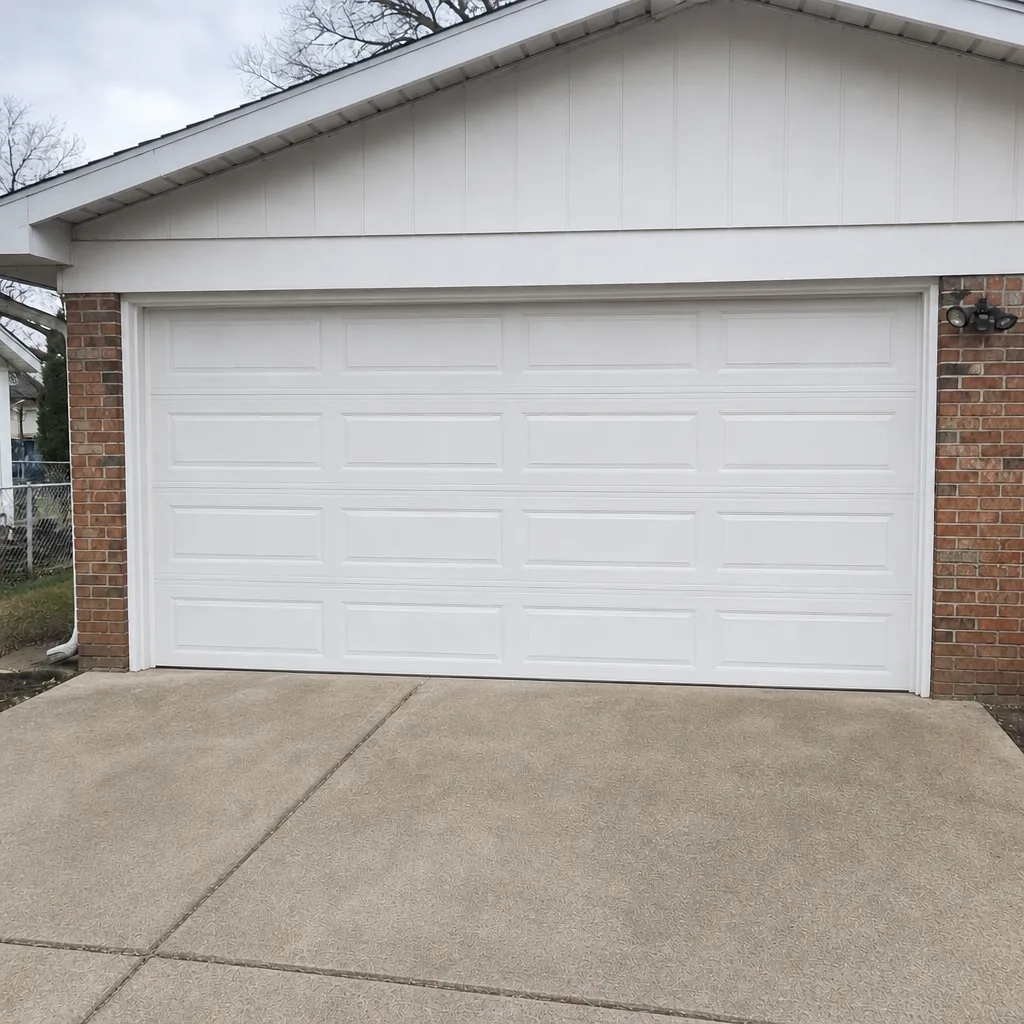 After
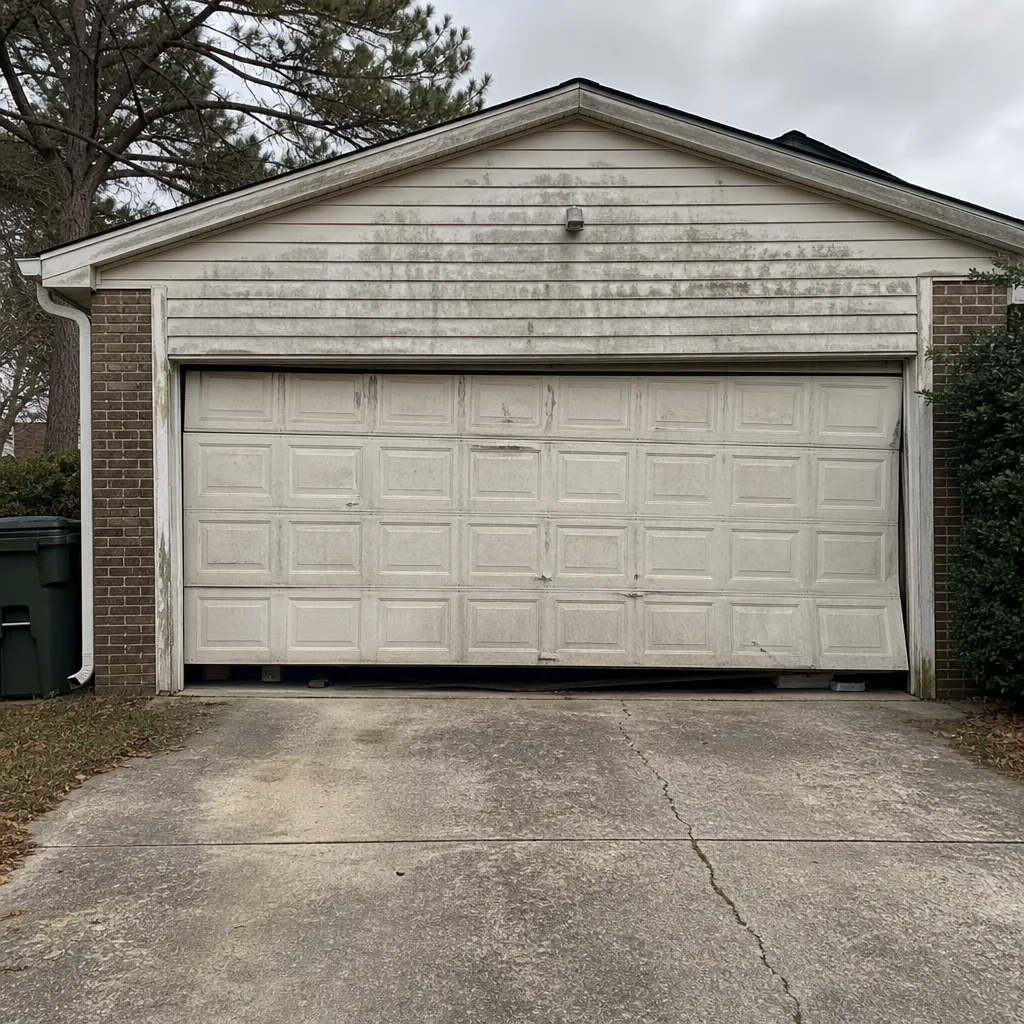 Before
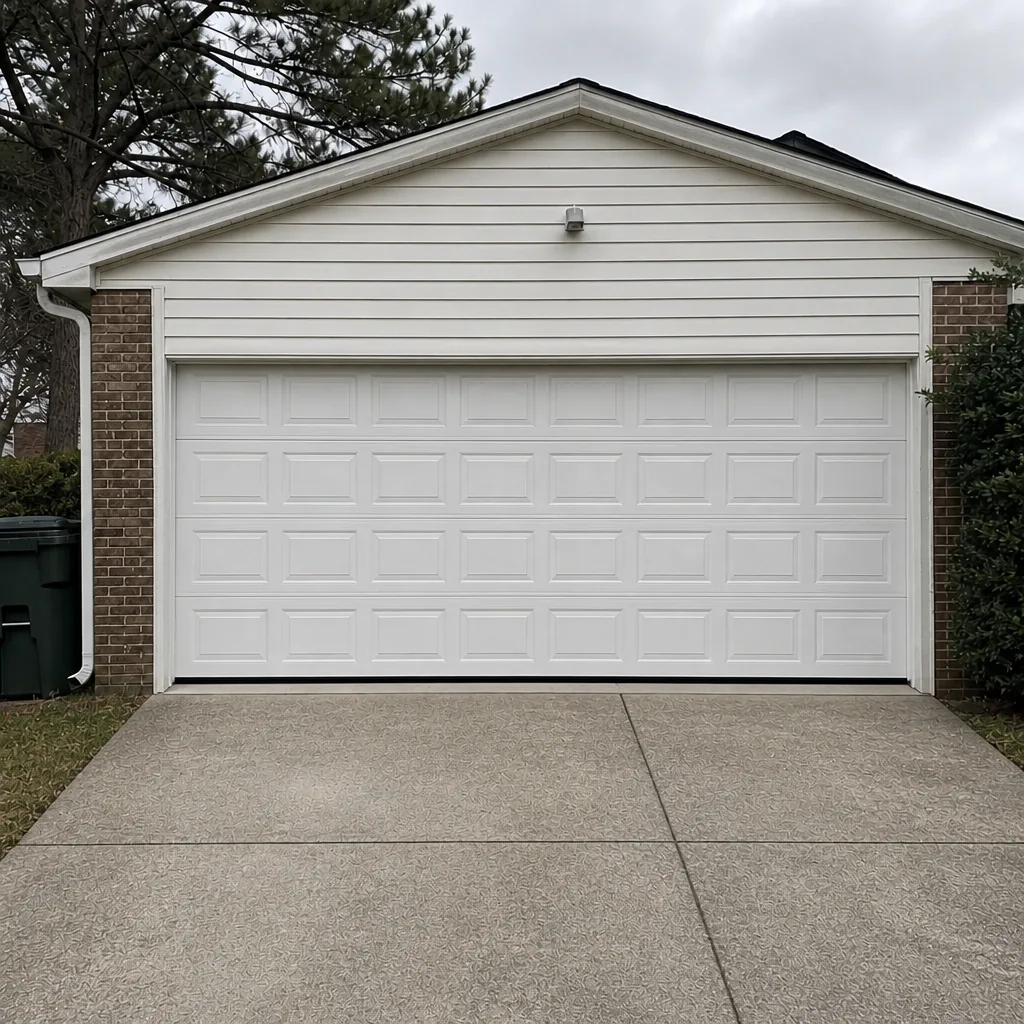 After
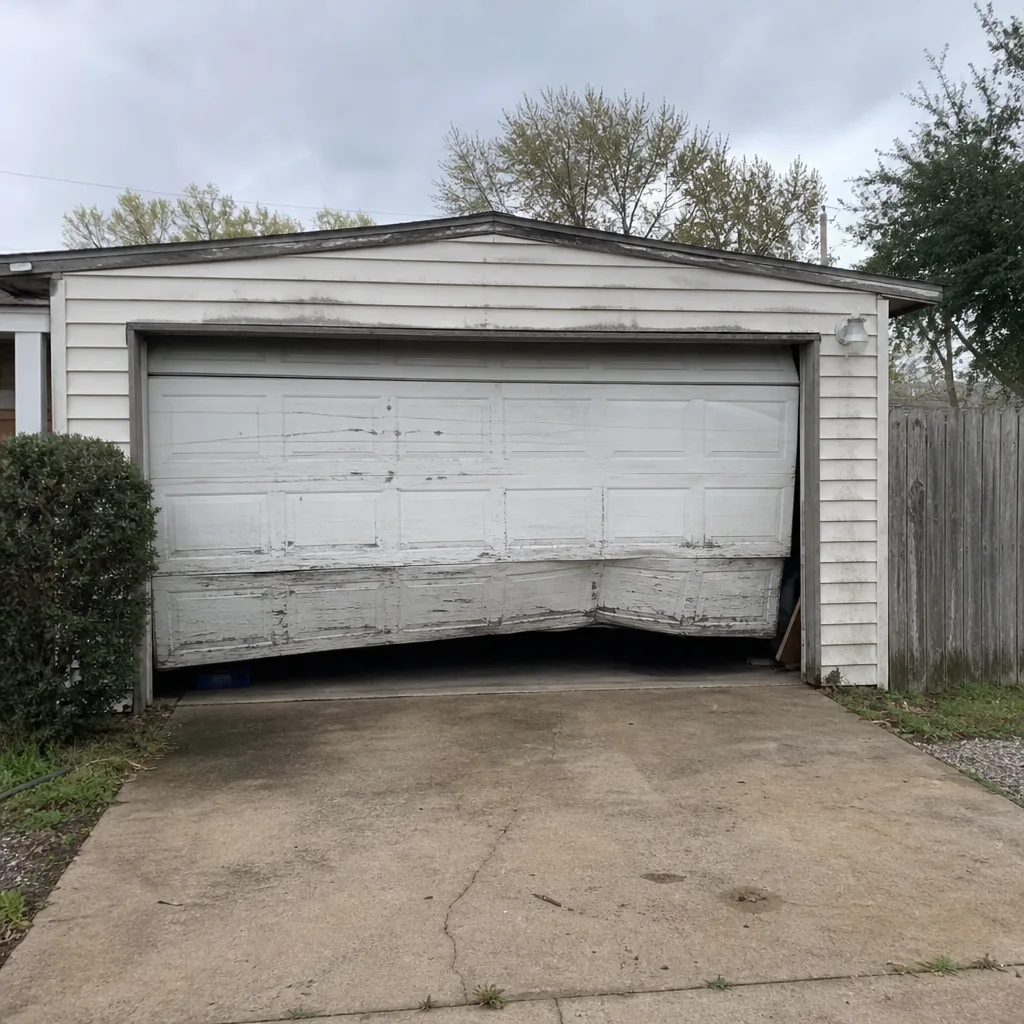 Before
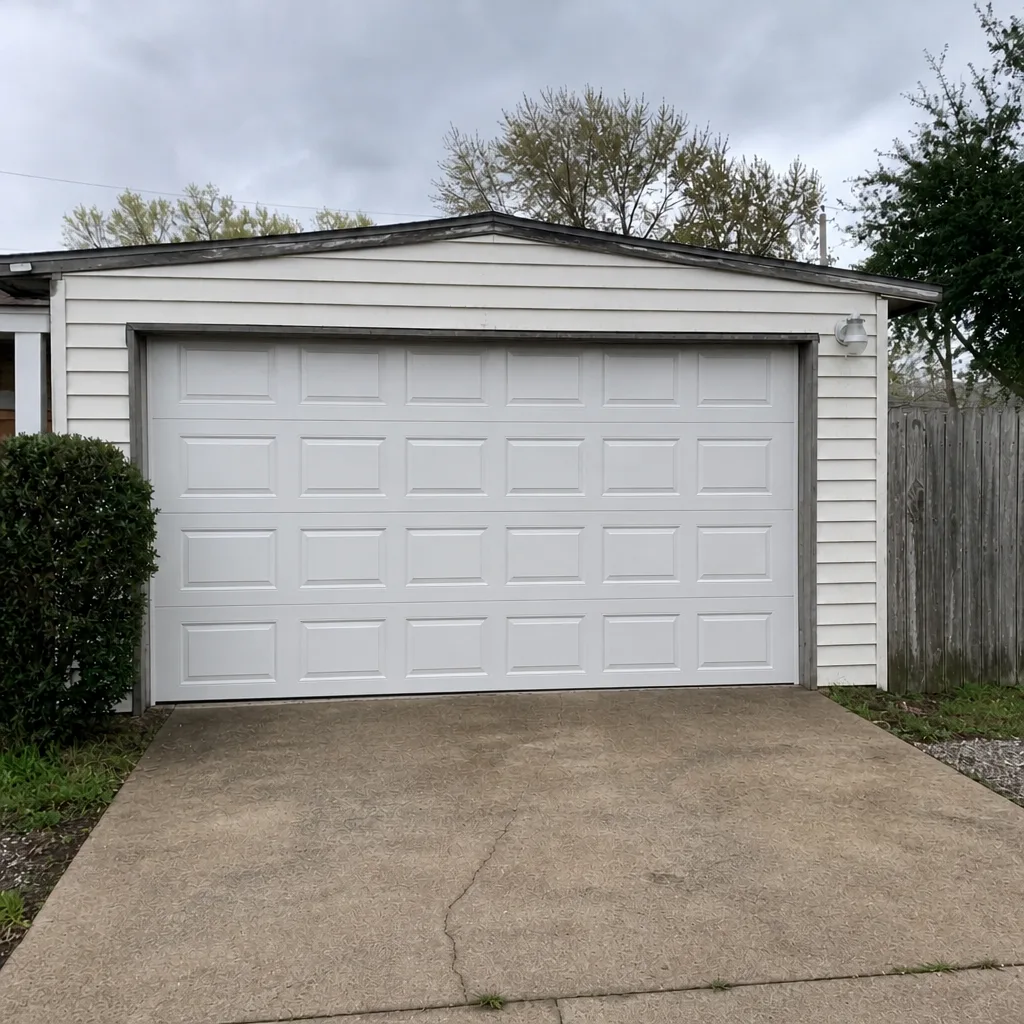 After
When to Call a Professional
Some tasks in this schedule are for you and some are not. Call a professional when the balance test shows the door sagging or rising on its own, when you see a gap or bend in a spring, when a cable is frayed or slack, or when the door won’t close flush and the opener force setting keeps failing. Also call in if the door is noisy in a new way, if a roller has flat-spotted, or if the weather is a factor: a door that struggles in the Suffolk winter cold is telling you something, and forcing it to open with the opener is not the fix.
We answer 24/7. Fast dispatch from 7am to 7pm, Sunday through Friday, closed Saturday. Thrive Garage Door Repair offers free estimates across Suffolk; call (888) 404-3987 and we’ll diagnose what the monthly check can’t see. If the noise has been there a while or the door is much harder to lift than it was last month, a garage door repair visit now is far cheaper than the surprise failure later.
Frequently Asked Questions
An annual professional inspection plus monthly home checks keeps most doors healthy. The key timing in Suffolk’s climate is one inspection before summer humidity and one before winter cold snaps; the door itself doesn’t fail on a calendar, it fails on cycle count and season transitions. If your door is more than seven years old or you don’t know the last time it was true, an inspection this season is the right starting point. Call (888) 404-3987 for an exact quote; estimates are free.
The balance test: disengage the opener, lift the door by hand to the halfway point, and let go. A healthy door holds; a sagging door means spring tension has dropped, and a door that rises on its own means tension is off. Replace or adjust springs professionally; never attempt it yourself. If you think your spring is failing, stop using the door and call (888) 404-3987; we answer 24/7.
No. WD-40 is a solvent, not a lubricant, and on springs it strips the protective coating and leaves the spring dry, which accelerates rust and fatigue. Use white lithium grease or a silicone-based garage door lubricant on springs. Keep grease off the tracks entirely. If you’ve been using the wrong product and hear new creaking, call (888) 404-3987 for an exact quote on a full inspection.
Doing routine maintenance correctly protects your warranty; doing it incorrectly can void it. Using the wrong lubricant, attempting spring or cable repairs yourself, or adjusting opener force settings improperly can affect coverage. Check what each part warranty (panels, opener, springs) requires, and read the manual for your actual model, whether it’s a Clopay door or a Genie opener. Call (888) 404-3987 if you want a qualified inspection to keep your covered parts covered; estimates are free.
Torsion springs typically last seven to twelve years of cycles and extension springs five to ten, but Sullivan’s humid summers wear them faster: expect the lower end of those ranges. If your door is more than seven years old and you don’t know when the springs were last replaced, an inspection is the right next step. Call (888) 404-3987 and we’ll check them.
If a spring breaks, don’t force the door open or closed. Call (888) 404-3987; we answer 24/7, and because dispatch runs Sunday through Friday from 7am to 7pm, we’ll book the visit for Sunday to get you back to working order. Never attempt a spring replacement yourself; the tension can cause serious injury.
The Bottom Line
A garage door doesn’t fail by accident; it fails when a schedule gets skipped. The monthly five-minute check and the balance test are the fastest way to catch spring fatigue before it becomes a snapped spring. The seasonal tasks – lubrication before the humidity, weather-seal checks before the cold – are calibrated to what Suffolk’s climate actually does to a door. Leave the springs, cables, and opener-force adjustments to a professional, and keep the annual inspection on the calendar. Our technicians have up to 8 years of experience, and we work on what you already own, whatever brand that is. If you want a free estimate in Suffolk, call Thrive Garage Door Repair at (888) 404-3987. We answer 24/7. Fast dispatch from 7am to 7pm, Sunday through Friday.
Written by the team at Thrive Garage Door Repair.